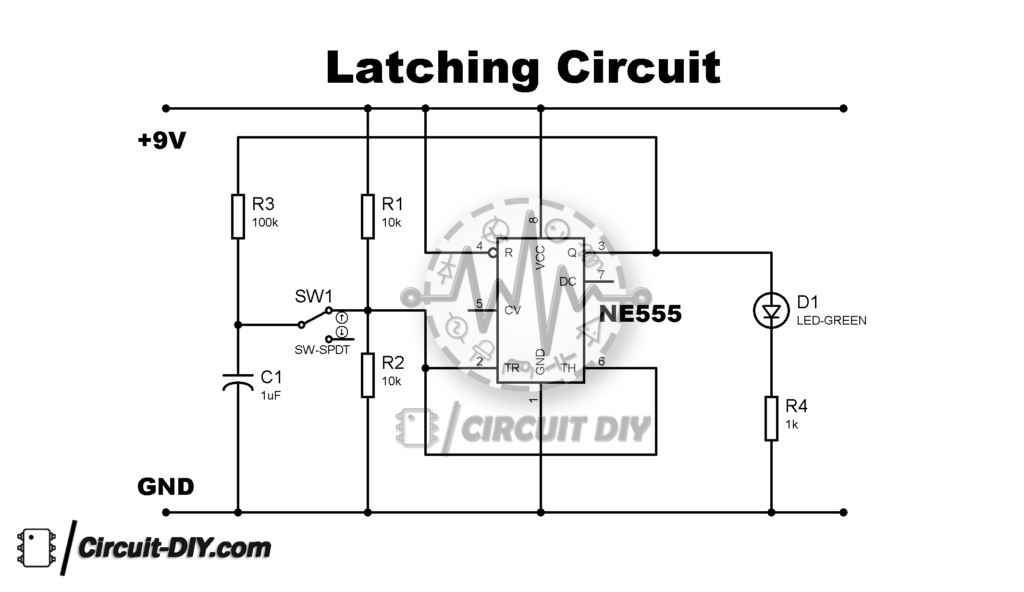
Latching Circuit in PLC
What is a Latching Relay?
A latching relay (also known as a bistable, keep, impulse, stay relay, or simply a “latch”) is defined as a two-positional electromechanical switch. It is an electrically actuated switch used to maintain its position without power applied to the coil.
A latching relay is used to control the large flow of current with a smaller current. The coil of the latching relay consumes power only while the relay is switched ON. And its contact remains in position after the switch has been released. See the latching relay circuit diagram below for more details on how this works.
A latching relay is similar to a double-throw toggle switch. In the toggle switch, once the trigger is physically pushed to one position, it will remain in the same position until the trigger is pushed to the opposite position.
Similarly, once set electrically to one position, the latching relay will remain set in that position until it reset to the opposite position.
A latching relay is also known as impulse relay, bi-stable relay, or stay relay.
What is an Impulse Relay?
An impulse relay is a form of latching relay and is often referred to as a bistable relay. It is used to changes the contact states with a pulse.
When impulse relay energizes, it determines the position of the relay and energizes the opposing coil. And the relay will maintain this position even if the power is removed.
When power is reapplied, the contact changes its state and holds this position. And this process is repeated with the ON/OFF power.
This type of relay is most suitable in applications like ON/OFF devices from multiple places with push-button or momentary switch. For example, it is used in a lighting circuit or conveyer to control from different locations.
Latching Relay Circuit Diagram
The latching relay circuit has two pushbuttons. Button-1 (B1) is used to make the circuits, and Button-2 (B2) is used to break the circuit.

When button-1 is pressed, the relay coil will energize. And close the contact A to B and C to D.
Once the relay coil is energized and close the contact A and B, the supply remains to continue after releasing button-1.
The relay coil must be de-energized to interrupt the circuit. So, to de-energize the relay coil, we need to push button-2.
How Does a Latching Relay Work?
The button-1 is the NO (Normally Open) button, and the button-2 is NC (Normally Closed) button. Therefore, initially, button-1 is open, and button-2 is close.
Button-1 is pressed to turn ON the circuit. After pressing button-1, the current will flow through the (+Ve)-B1-A-B-(-Ve).
This will make the relay coil energize. The contacts A is connected to B and C is connected to D.
If you release the push button B1, the relay coil will stay energized, and the current will flow continuously in the circuit. The path of current is (+Ve)-B2-B-A-(-Ve).
To disconnect the circuit, we need to de-energize the relay coil. For that, we need to disconnect the current path.
The push-button B2 is used to turn OFF the circuit. The button B2 is NC. So, when we press this button, it will change its stage to open. Hence, when we press the push button B2, it will break the path and de-energize the circuit.
There are many configurations of relays that can be made with the number of contacts connected with a relay.
How to Make a Latching Relay Circuit
Here, we discuss the step-by-step procedure to make a latching relay circuit.
Step-1 Connect Relay with a push-button and DC supply as shown in the figure below.

Push-button is Normally an Open (NO) switch. Therefore, initially, the switch is open. When the push button is pressed, the relay gets ON. And when the push button is released, the relay gets OFF.
This is a regular operation of a relay with push-button. In the case of a latching relay, the relay remains in the ON position once the push button is pressed.
Step-2 So, for latching relay operation, the common point of the relay must connect with the source via push button, as shown in the figure below.

In this condition, when we press the push button, the relay gets ON. After release the push button, the relay contact remains in the same position.
Here, when we release the push button, the supply to A1 from the push-button is disconnected. But the supply continuously available direly from the DC line.
Therefore, in this condition, when we pressed the push button, the supply continuously ON. And it will never OFF.
Step-3 Therefore, we connect an extra push button, normally closed (NC), with the DC line and relay, as shown in the figure below.

This push-button is used to turn OFF the supply. So, when we press this push button, it will disconnect the relay from the DC line.
Hence, to turn ON the supply, we use push button-1, and to turn OFF the supply, we use push button-2.


